Pogo pins are indispensable components used by electronics manufacturers and are widely used for applications like circuit testing, battery connections, and modular assemblies. As such, partnering with a trusted supplier ensures access to high-quality pins that meet industry standards and project requirements.
For startups venturing into electronics, understanding proper installation techniques is crucial for achieving reliable connections and optimal performance.
This beginner’s guide provides a comprehensive insight into installing pogo pins, complete with detailed steps, tips, and considerations to help startups achieve professional results.
What are Pogo Pins?

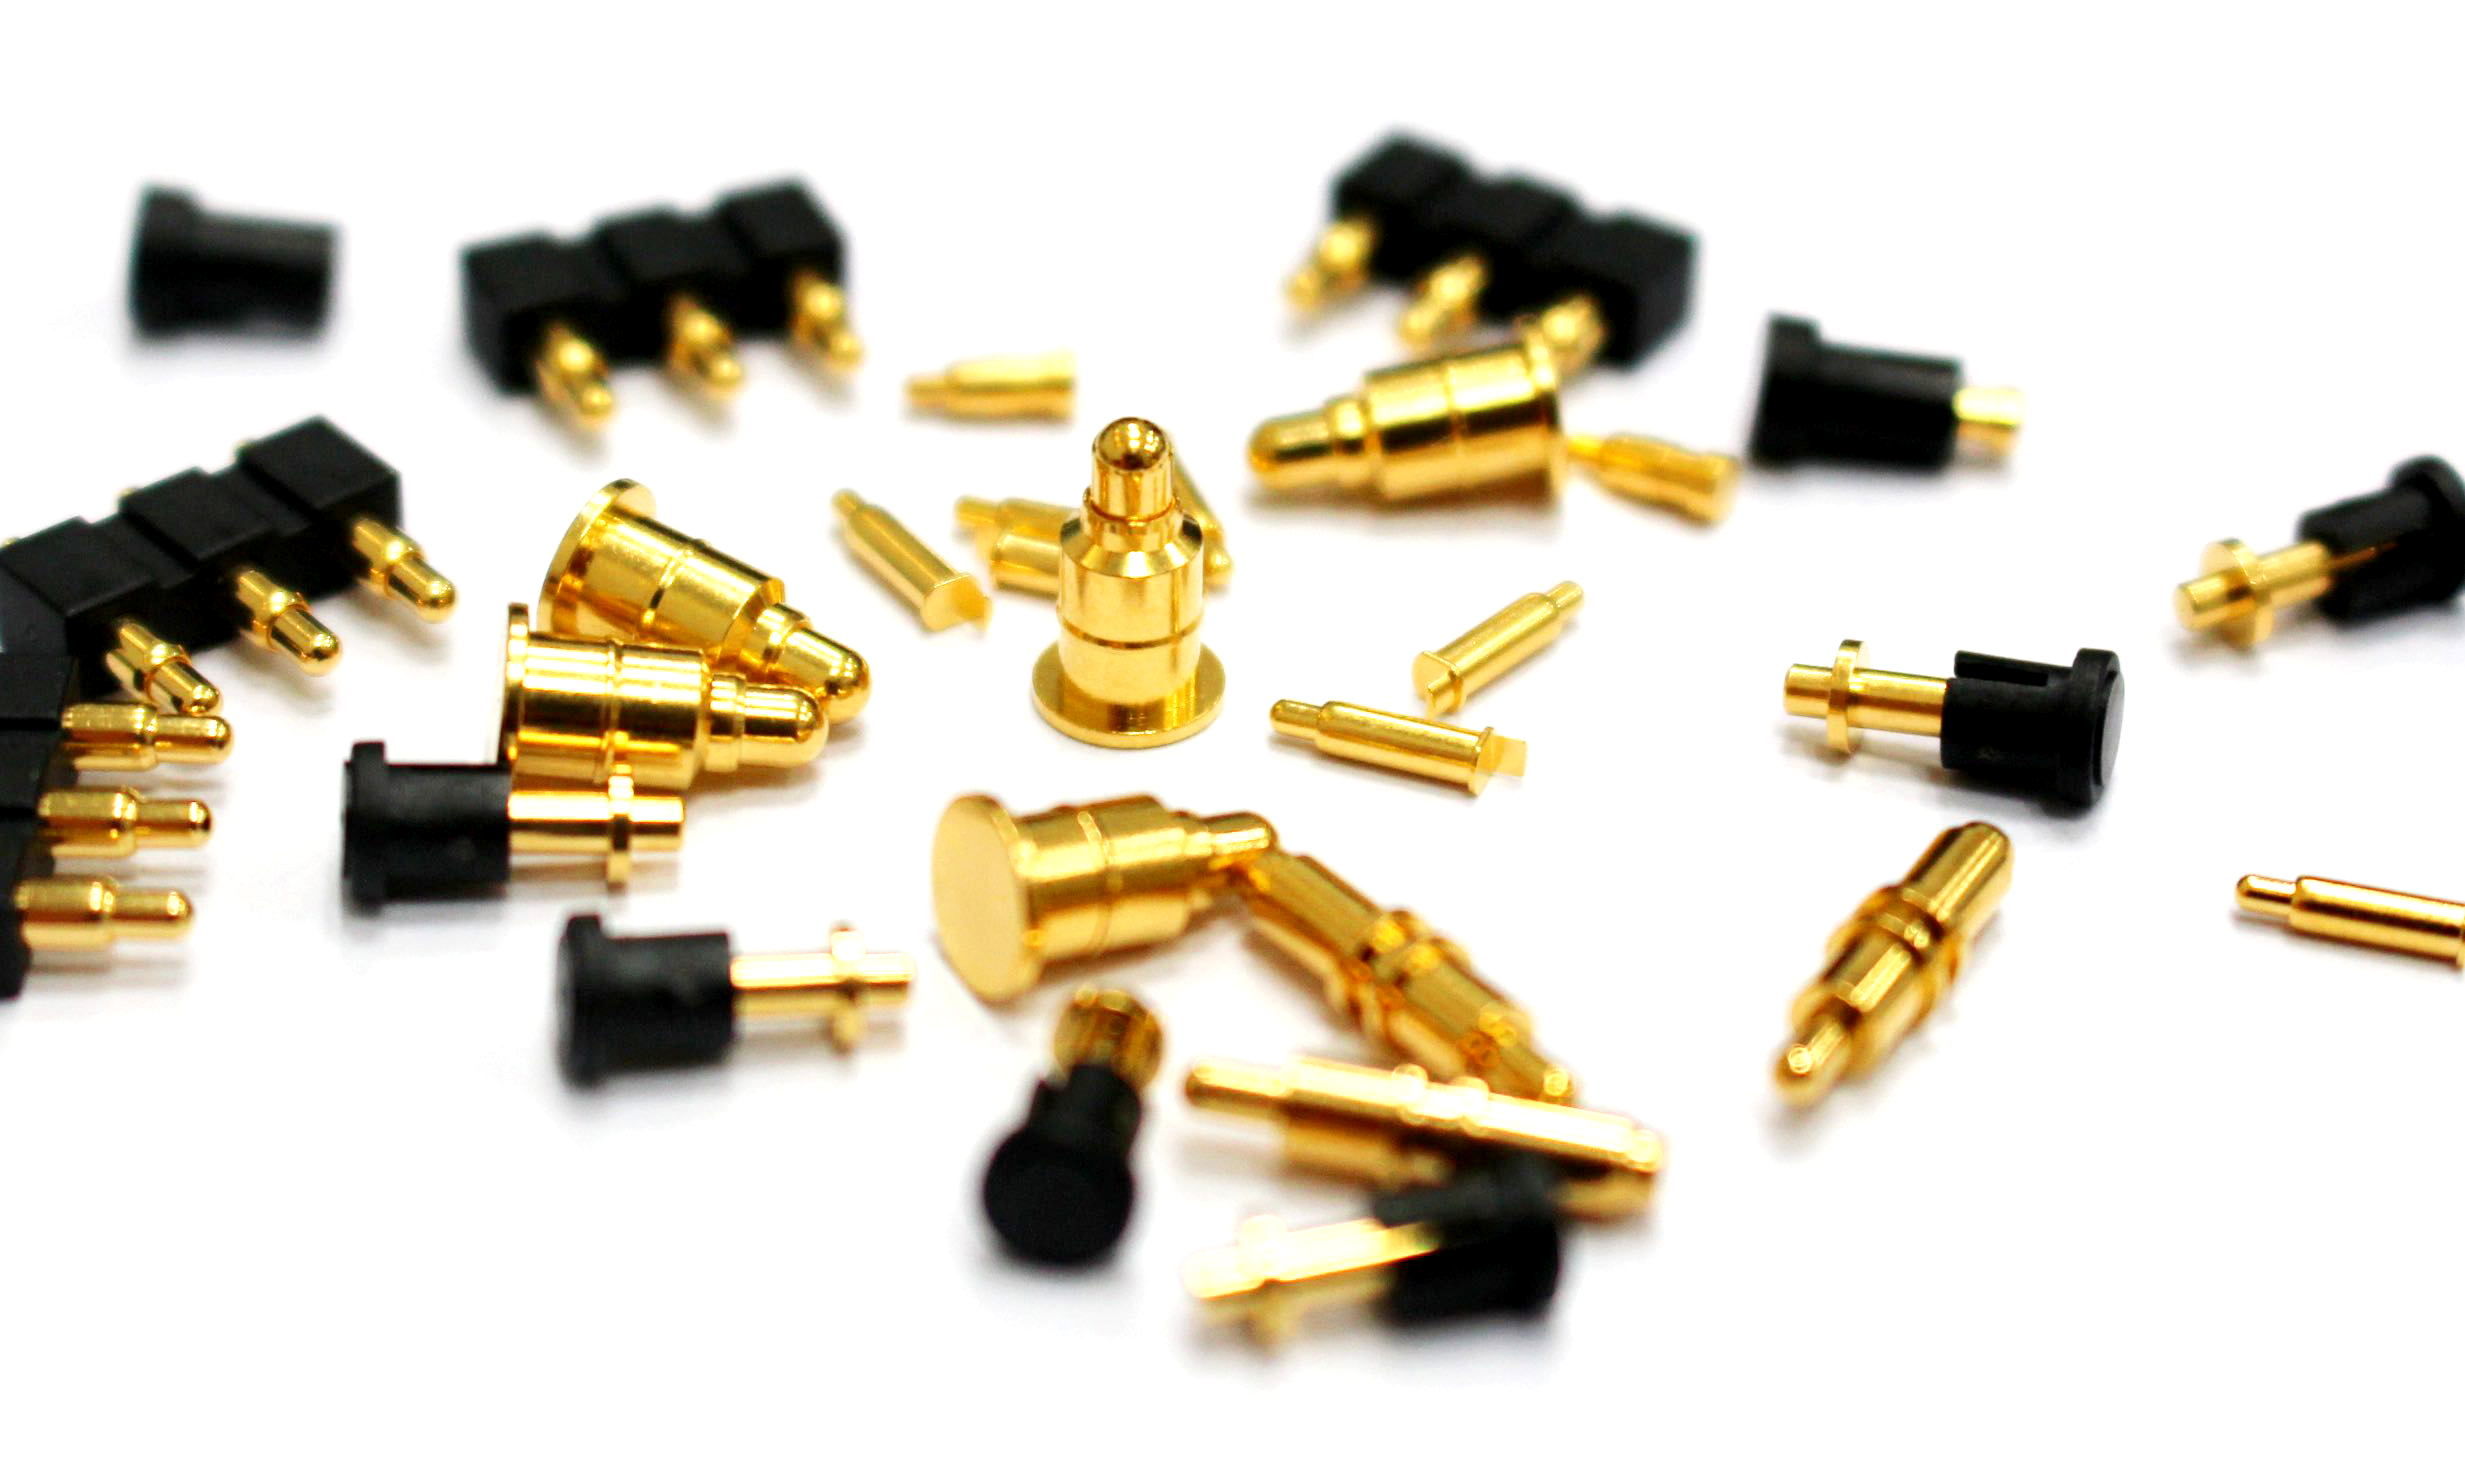
According to a Promax Pogo Pin Manufacturer, Pogo pins, also known as spring-loaded pins, are connectors that feature a spring mechanism to create a secure and reliable contact between electronic components. Their flexibility and durability make them ideal for various applications, including battery charging contacts, testing electronic circuits, interconnecting modular devices, and prototyping or debugging circuits.
Each pogo pin consists of three main parts. The plunger is the movable tip that makes contact with other components. The spring provides the necessary pressure for secure contact, while the barrel houses both the plunger and the spring, serving as the pin's main body.
Why Use Pogo Pins?
For startups in electronics, pogo pins offer significant advantages. Their spring mechanism ensures consistent contact even in environments prone to vibrations or movement, making them highly reliable.
Unlike soldered connections, pogo pins can be reused multiple times, which is particularly advantageous during prototyping or testing phases. Their compact design makes them suitable for modern, space-constrained electronic devices, and their ease of use saves both time and effort during assembly and testing processes.
Tools and Materials Needed for Installing Pogo Pins
Before starting the installation process, ensure you have the right tools and materials. Essential items include pogo pins tailored to your application based on size, current rating, and material, along with a clean PCB (Printed Circuit Board).
You’ll also need soldering equipment, such as a soldering iron, solder wire, and flux, for creating stable connections. Precision tools like tweezers or pliers help in handling small components accurately, while a magnifying glass or microscope assists in inspecting connections. A multimeter is indispensable for verifying electrical continuity and checking the quality of the installation.
Step-by-Step Guide to Installing Pogo Pins

1. Prepare the PCB
Start by ensuring the PCB is clean and ready for installation. If the pogo pins require holes, design the hole dimensions using PCB design software. Drill precise holes using a CNC machine or manual drill, ensuring they are clean and free of burrs. Verify that the holes align with the intended contacts or components to avoid any misalignments.
2. Choose the Right Pogo Pins
Selecting the correct pogo pins is critical for success. Ensure the pin length is adequate to make a reliable connection without exerting excessive force. Choose pins with an appropriate spring force based on the pressure requirements of your application. For optimal conductivity and corrosion resistance, opt for gold-plated pogo pins.
3. Place the Pogo Pins
Carefully position the pogo pins into their designated locations on the PCB. Using tweezers or pliers, insert each pin into the pre-drilled holes, ensuring they are straight and properly seated. A magnifying glass can help you inspect the placement and alignment to ensure accuracy.
4. Solder the Pogo Pins
Soldering the pins secures them to the fabricated PCB. Apply a small amount of flux to the contact points to enhance the solder flow. Use a soldering iron to heat the base of the pogo pin where it meets the PCB, then feed the solder wire into the heated joint, ensuring the solder flows evenly. After the joint cools, inspect it to confirm it is smooth and free of gaps. If any parts of the pins protrude, trim them as needed.
5. Test the Installation
Once the pogo pins are soldered, test their functionality. Check the alignment of the pins to ensure they align with their mating components. Use a multimeter to verify electrical continuity between the pins and the circuit. Gently press the pins to ensure the springs move smoothly and maintain consistent contact.
Common Mistakes to Avoid
When installing pogo pins, beginners often encounter these common pitfalls:
- Misaligned Pins: Improper alignment can lead to unreliable connections, causing inconsistent performance or failure.
- Insufficient Solder: Weak solder joints may result in the pins loosening over time, compromising their effectiveness.
- Overheating: Applying excessive heat during soldering can damage the spring mechanism inside the pogo pin, affecting its functionality.
- Incorrect Pin Selection: Using pins with the wrong dimensions or spring force can lead to poor contact and performance issues.
- Dirty or Contaminated Surfaces: Failing to clean the PCB or pogo pins before installation can reduce conductivity and connection reliability.
Tips for Professional Results
To achieve professional results, invest in high-quality pogo pins from reputable manufacturers. Practice soldering on scrap materials if you are new to the process, and consider creating a jig to hold the pins in place during soldering for repetitive tasks.
Inspect connections with a microscope to identify potential issues not visible to the naked eye. Lastly, refer to the pogo pin manufacturer’s datasheets for specific installation guidelines.
Applications of Pogo Pins in Startups
Pogo pins are versatile and invaluable for startups. They are frequently used in prototype testing to connect and disconnect components easily during the development phase. In battery-powered devices, pogo pins create efficient and durable connections for rechargeable systems.
Modular designs benefit from pogo pins by allowing components to be swapped quickly and reliably. Additionally, pogo pins are integral in building test fixtures for quality control and batch testing of PCBs.
Conclusion
Installing pogo pins is a valuable skill for startups in the electronics industry. These connectors provide flexibility, reliability, and efficiency, making them indispensable for prototyping, testing, and modular assemblies. By following the steps and tips outlined in this guide, you can confidently install pogo pins and ensure optimal performance in your projects.
Mastering pogo pin installation not only enhances your technical capabilities but also positions your startup to deliver high-quality electronic products that meet industry standards. With careful preparation and attention to detail, pogo pins can become an integral part of your electronics manufacturing toolkit.